Pollination and Harvest
This page covers how to pollinate and harvest dragon fruit; the difference between self-fertile, self-pollinating, and self-sterile plants; and how to store pollen. For other aspects of growing dragon fruit, such as basic care, propagation, and trellising, see the drop-down menu above.
Pollination and flowers
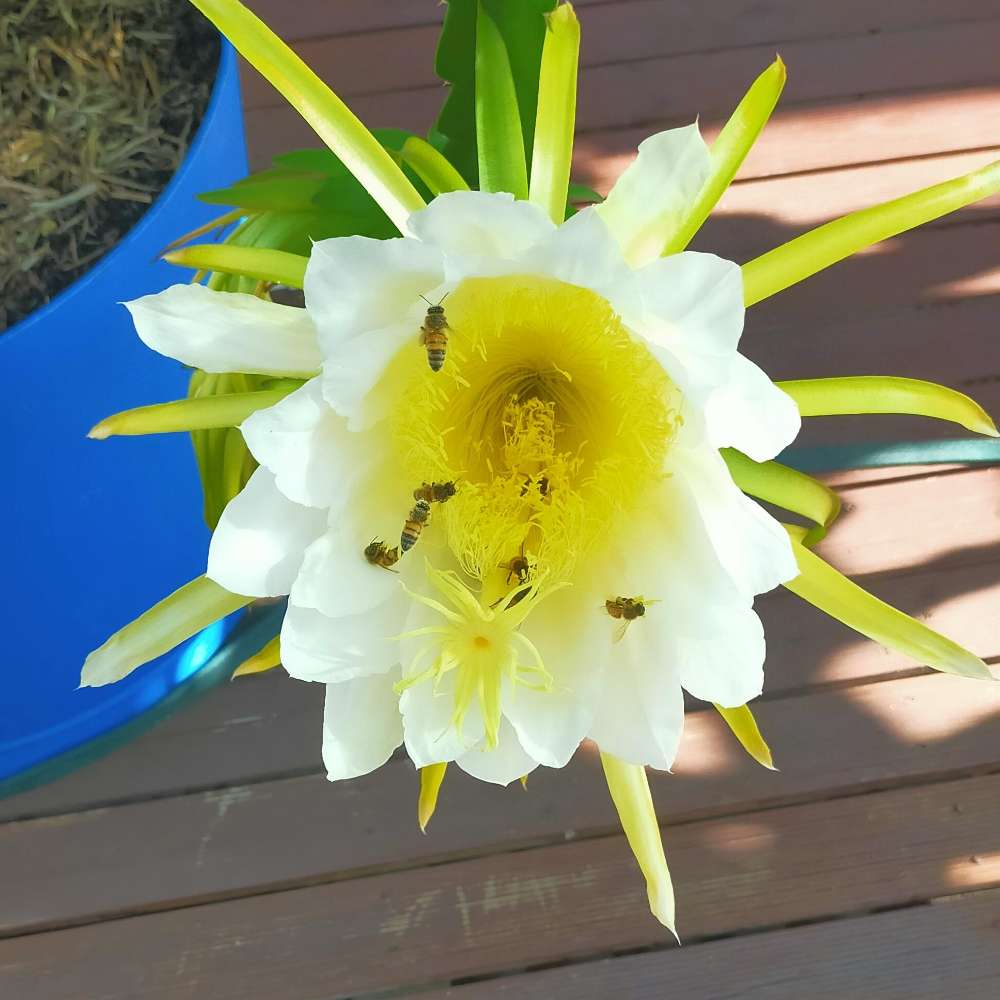
Dragon fruit plants have some of the most impressive flowers in the Cactaceae family. These flowers open at night and close early in the morning, so natural pollinators include moths, bats, bees, and ants. However, natural pollinators are unreliable, especially when cross-pollination is necessary, so it is important to understand the different types of flower fertility and how to hand pollinate. It is incredibly frustrating when your carefully nurtured flowers yellow and fall off just days after opening, and this is one of the most frequently asked question in the dragon fruit community. The key to alleviating this issue is understanding the difference between self-fertile, self-pollinating, and self-sterile (cross-pollinating) varieties. If you only purchase named varieties, you should easily be able to find out whether cross pollination is necessary, though it is best to ask the seller in advance.
Self-fertile varieties
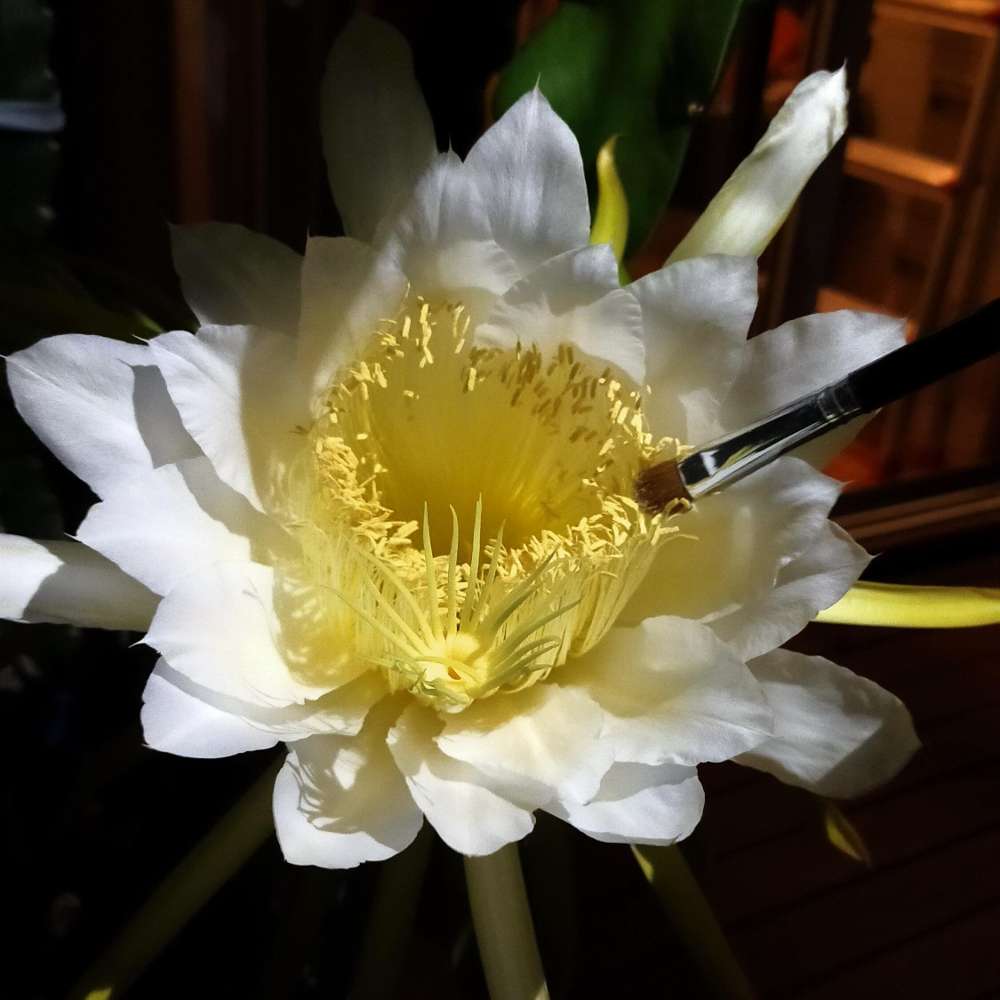
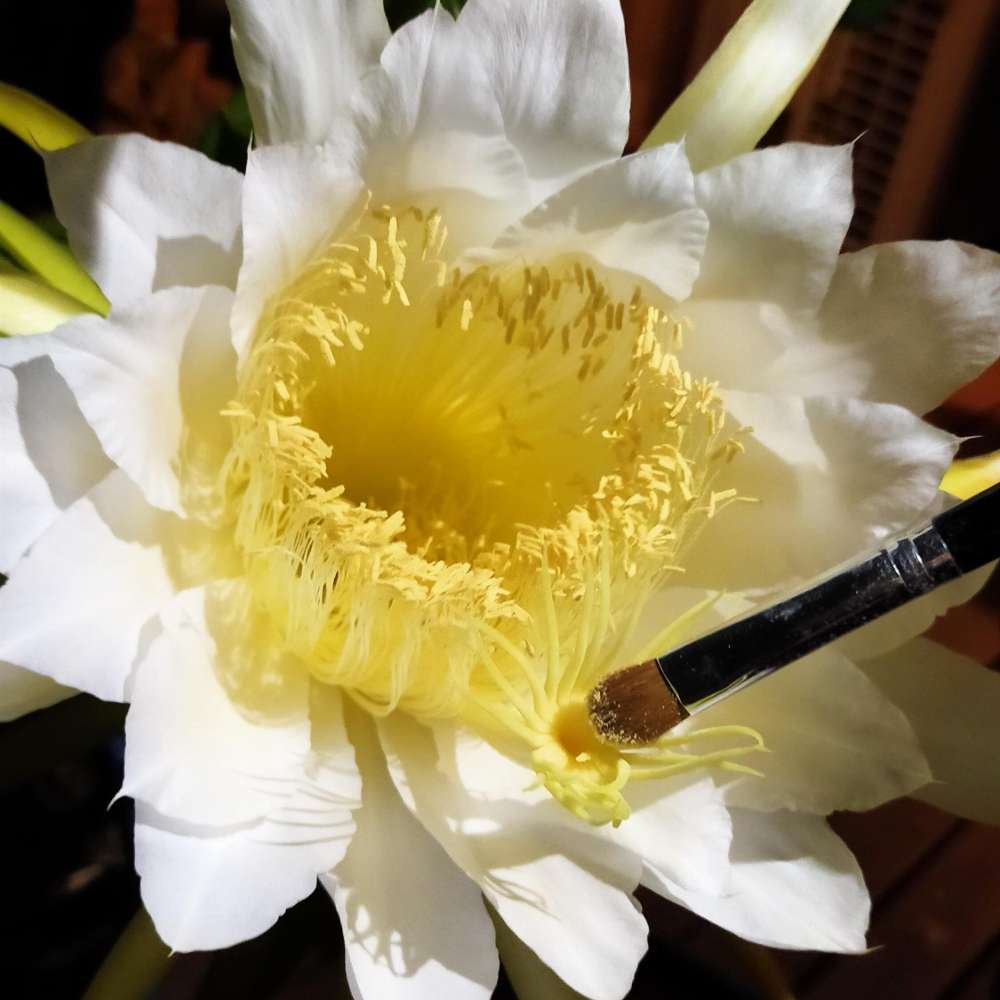
Self-fertile varieties have the ability to set fruit using their own pollen. However, fruit will only form if the pollen is delivered to the stigma (middle female protrusion). Thus, if the stigma protrudes far from the anthers (male fronds around the stigma that produce pollen), assistance may be needed to ensure successful pollination (instructions below). Further, some self-fertile varieties will only produce small fruit with their own pollen, so it may be worth cross-pollinating anyway.
Self-pollinating varieties
Self-pollinating varieties are a subset of self-fertile varieties, producing flowers with a very short stigma, which is buried within the anthers. This causes the anthers to brush against the stigma, releasing pollen and thus allowing for successful pollination, since the flower is self-fertile. It is important to note that hand pollination may be necessary to ensure large fruits (or any fruit at all, depending on various factors such as climate and pollinators), as this will allow more pollen to be delivered to the stigma. Like all self-fertile varieties, cross pollination can also result in larger fruit.
Self-sterile (cross-pollinating) varieties
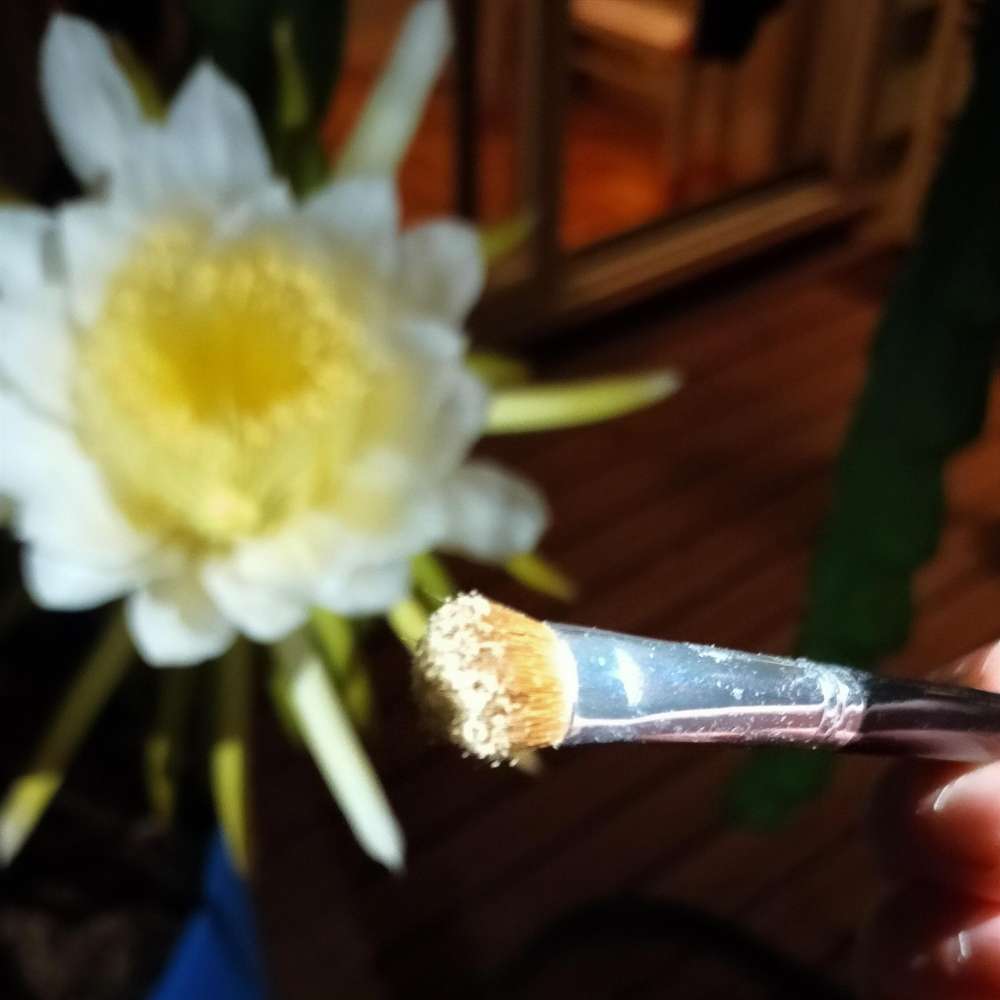
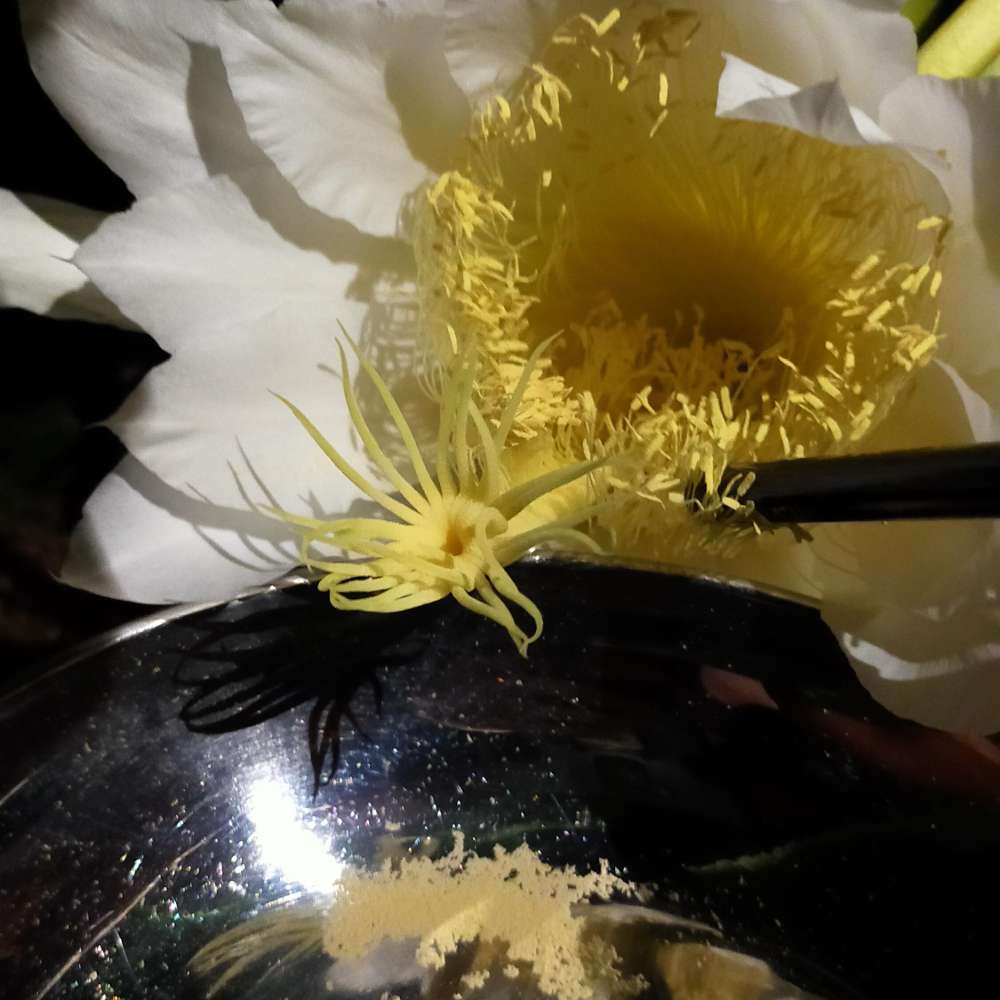
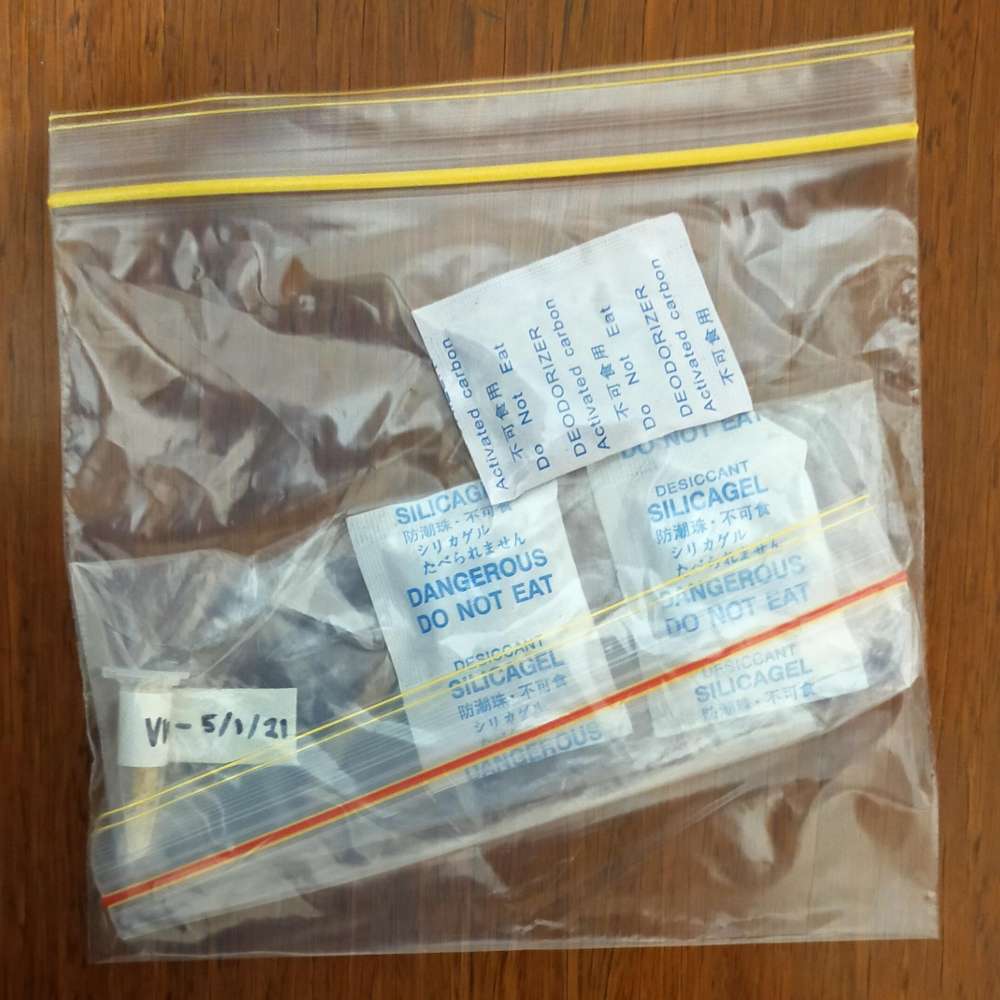
Lastly, self-sterile, or cross-pollinating varieties usually (but not always) have a very long stigma that protrudes well away from the anthers. As a general rule, coloured-flower varieties are usually self-sterile. You will need to collect pollen from another compatible variety (instructions below) and use this to pollinate the stigma (instructions below), as its own pollen is not capable of pollinating its own flower. There is very little information about which varieties are incompatible as it would be incredibly time consuming to test, however, there are some universal pollinators which successfully pollinate most varieties. The most notable universal pollinator is Sugar Dragon, so try and get your hands on this variety if possible. In my experience, varieties that produce more pollen tend to work better for cross pollination. Even if you have Sugar Dragon, however, flowers may not open on the same night, in which case you will either have to refrigerate or freeze pollen for later use (more on that later). If you are having trouble with incompatibility, consider mixing pollen from different varieties together to create your own universal pollen. However, if different varieties do flower on the same night, which often occurs, cross pollinate everything regardless of flower fertility for maximum fruit set and size. Use fresh pollen over frozen pollen when possible as it will be more viable.
Testing for flower fertility
If you have unnamed varieties, or named varieties with little information available, it is useful to be able to test for flower fertility. For such varieties, I would cross pollinate for the first few seasons of fruit, so you can be (almost) sure of fruit set, then, when you get enough flowers that you are willing to let one potentially go, start testing. In order to be sure of no cross contamination, bag the flower buds in the afternoon before they open (they will look as if they are about to burst). Then, when they are fully open, remove the bag, hand pollinate (see below), then quickly put the bag back on. You will know within a few days whether pollination was successful. Do more than one test to ensure it wasn’t just a faulty flower. I used this method to test the viability of old pollen on a self-sterile variety, which I will discuss at the end of this page.Harvesting
Upon successful pollination, the flower will shrivel up and the fruit will form at the base of the flower. The shrivelled flower can be removed after a week or so and doing so can get rid of unwanted pests from your fruit. Most varieties will take 30 to 45 days to ripen in summer, though thorny varieties may take up to six months to ripen as they are usually part of a different genus (Selenicereus). For thornless varieties, the fruit is ready when the colour has fully changed, the fins are shrivelled and may also have changed colour, and the fruit is loose on the plant. For thorny varieties, the fruit is ready when the colour has fully changed, the fruit is loose on the plant, and the thorns brush off easily with a soft brush. If any dragon fruit splits, pick immediately as it may already be overripe. I like dragon fruit better when they are chilled, and this is the best way to store them as they don’t ripen off the plant. This is why shop fruits generally taste terrible; they are picked green and only the colour changes with no improvement in flavour after picking.